

Picture Rail Moulding Hook 39mm nickel-plated max. 12kg
Original price was: £1.08.£0.97Current price is: £0.97.
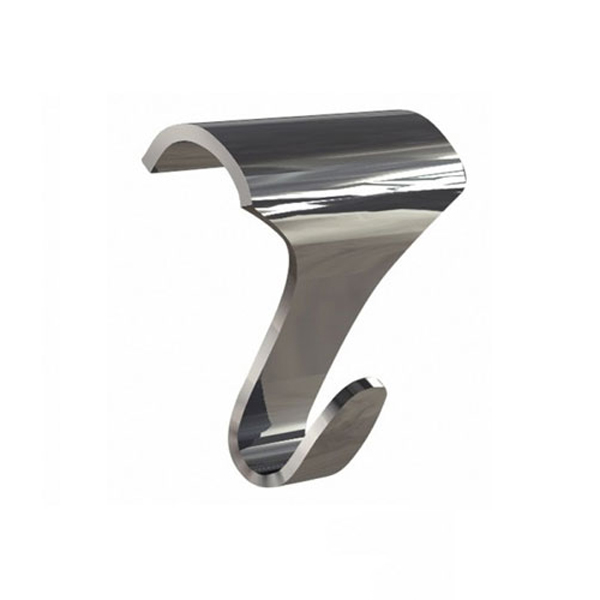
39mm nickel-plated moulding hook designed for use on traditional wood picture rails, dado rails, and partition wall tops.
PRODUCT INFORMATION
capacity: 12kg
colour: nickel-plated
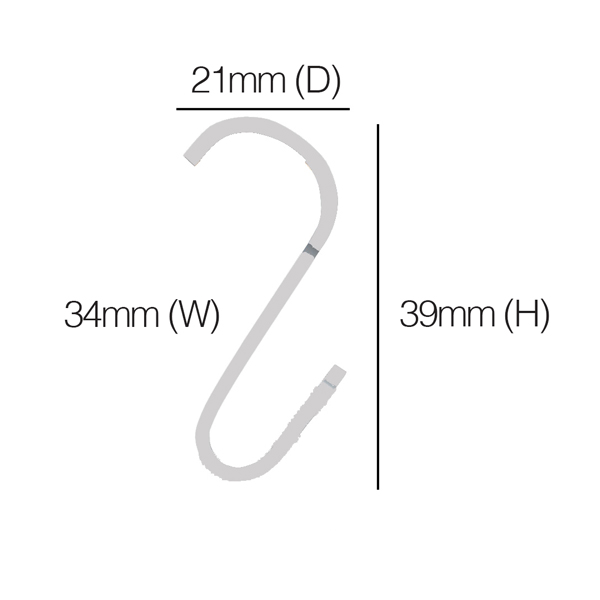
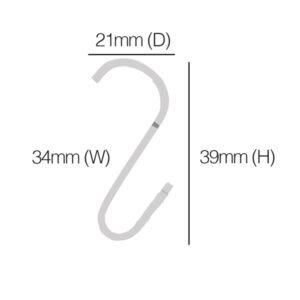
size: 39mm(H) 21mm(D)
material: steel
Picture Rail Moulding Hook
The moulding hook is a metal hanging bracket designed for use on traditional wood picture rails, dado rails, and partition wall tops. Engineered to contour over standard curved wall mouldings, it provides a stable upper anchor point for hanging wires without requiring drilling, screws, or wall fasteners.
Manufactured from solid steel, the hook measures 39mm in height depending on weight capacity, with engineered load ratings of 12kg per unit. The curved upper profile rests directly over the lip of the moulding rail, while the lower lip accepts standard perlon cords or steel loop wires. It allows pictures, frames, and display panels to be suspended and repositioned horizontally along the rail length.
What’s included
Picture Rail Moulding Hook 39mm nickel-plated max. 12kg (Qty 1)
> wires not included
What’s the size?
39mm(H) 34mm(W) 21mm(D) max. 12kg


How to measure the rail
Moulding hooks are designed for picture rails (mounted high on the wall with a rounded top bead), whereas dado rails sit at waist height. If you are hanging artwork from a high wooden trim, you are working with a picture rail profile. To make sure a moulding hook hugs the timber snugly without sliding around or scratching the wall, you need to measure three key dimensions of your rail profile.
What to Measure
1. The Top Bead Diameter (The Top Curve)
What it is: The rounded top lip of the wood that the hook hooks over.
How to measure: Place a ruler or flexible measuring tape over the top curve from where the curve starts on the front face to where it meets the back.
Why it matters: Moulding hooks come in standard curve sizes (typically small ~30mm, medium ~40mm, or large ~50mm+). If the hook’s curve is too narrow, it won’t seat all the way down; if it’s too wide, it will wobble.
2. Wall Clearance / Back Gap
What it is: The space between the top edge of the wooden rail and the plaster wall behind it.
How to measure: Slide a thin card or ruler tip behind the top rim to measure the gap depth (usually 3mm to 8mm).
Why it matters: The hook’s top lip must slip into this rear gap to hook securely. If paint or filler has sealed the gap flush to the wall, you may need to clear a tiny notch with a putty knife or scraper before a hook will sit properly.
3. Rail Projection (Depth)
What it is: The overall distance from the wall face to the furthest front point of the rail.
How to measure: Hold a ruler perpendicular to the wall at the thickest part of the wood profile.
Why it matters: This determines how far forward the hook’s bottom drop hangs so the wire or cord hangs straight down without pinching against the wood.
Pro Tip
The Paper/Card Template Trick:
– if your moulding profile is intricate (like Victorian or Edwardian original timber), standard rulers can be tricky:
– press a piece of soft card stock or heavy paper tightly against the end or side profile of the rail.
– trace the top curve with a pencil.
– cut out the shape with scissors.
– take your cardboard cutout to a hardware store or compare it against manufacturer measurements online to pick the perfect hook profile.
| brand | PICTURE WORLD |
|---|---|
| colour | brass, nickel, white |
| capacity | 12kg, 20kg |
Related products


Moulding Hooks, Heavy Brass Hooks and Loop Wires (perlon) are great for hanging medium weight pictures.
PRODUCT INFORMATION
capacity: 12kg, 20kg
colour: white, brass, nickel
material: steel
included: 18 items This product has multiple variants. The options may be chosen on the product page
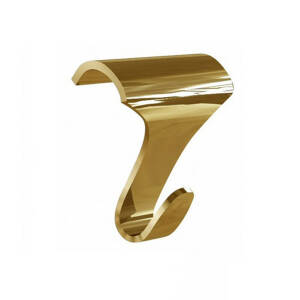
39mm brass-plated moulding hook designed for use on traditional wood picture rails, dado rails, and partition wall tops.
PRODUCT INFORMATION
capacity: 12kg
colour: brass-plated
size: 39mm(H) 21mm(D)
material: steel

Great way of hanging pictures on partition walls and wooden hanging rails. Available in matt black finish.
PRODUCT INFORMATION
capacity: 15kg
colour: rustic bronze
size: 39mm(W) 34mm(H)
material: steel

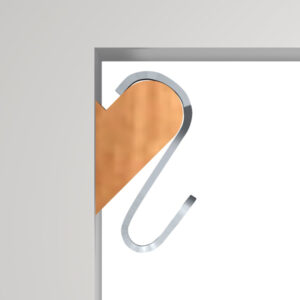
Hang artwork damage-free from Dado picture rails. Built-in adjustable loops hold up to 5kg per picture.
PRODUCT INFORMATION
capacity: 12kg (39mm), 20kg (45mm)
colour: white, brass, nickel
wire: Loop 2mm perlon
clamp: Loop Maker + Key This product has multiple variants. The options may be chosen on the product page

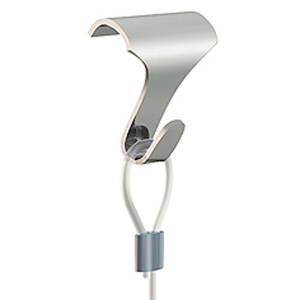
Moulding Hooks and Loop Wires (perlon) work together perfectly on partition walls and Victorian wooden hanging rails.
PRODUCT INFORMATION
capacity: 12kg, 20kg
colour: white, brass, nickel
wire: Loop 2mm perlon
length: 100cm, 150cm, 200cm This product has multiple variants. The options may be chosen on the product page
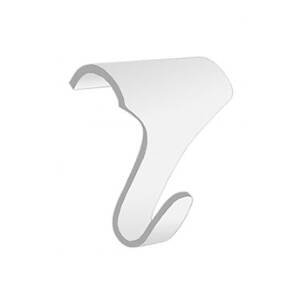
39mm white moulding hook designed for use on traditional wood picture rails, dado rails, and partition wall tops.
PRODUCT INFORMATION
capacity: 12kg
colour: white
size: 39mm(H) 21mm(D)
material: steel