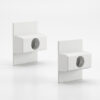
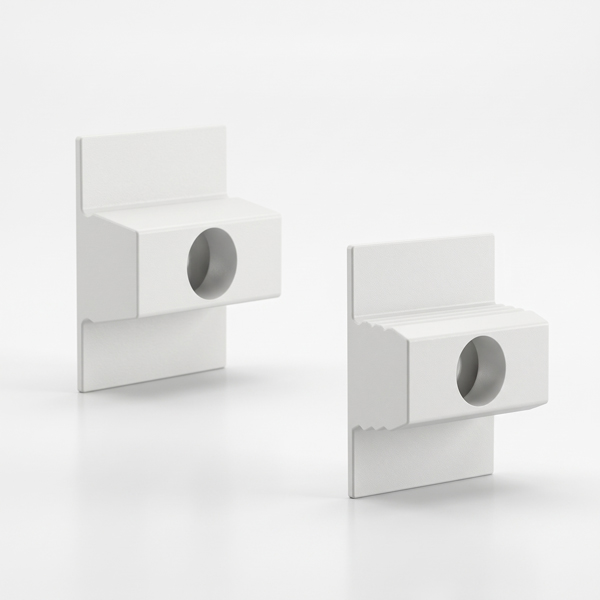


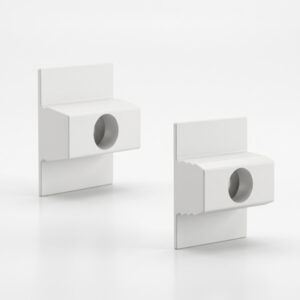


ARTITEQ Click Rail Click&Connect Installation Bracket
£0.36
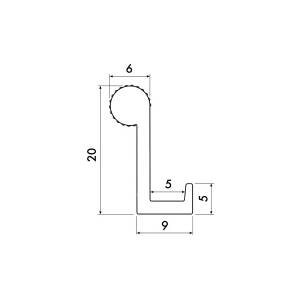
Standard Grip Brackets for flat walls and surfaces. Extra Grip Brackets to eliminate gaps on uneven walls.
finish: White
grip: Standard, Extra
fits: Click Rail
type: push-fit
Mount your picture hanging track quickly, level, and securely with official ARTITEQ Click Rail Click&Connect Brackets. Designed to snap directly into the rear channel of your Click Rail, these heavy-duty wall clips ensure a straight, professional installation flush against your wall surface. Available in both Standard and Extra Grip profiles, they double as an integrated drilling template for fast, hassle-free track fitting.
Why Choose Official Click&Connect Brackets?
- Fast Snap-On Installation: Mount your brackets along the wall, align your track, and press firmly for an instant, secure click-fit connection.
- Two Grip Profiles Available: Choose Standard Grip for smooth, level walls, or Extra Grip (triple-groove) to pull tracks tightly against uneven or textured surfaces.
- Integrated Drilling Template: Use an individual bracket held flush against your ceiling line to mark precise, uniform pilot hole locations along your wall.
- Seamless Track Jointing: Position a bracket directly across rail joints to seamlessly align two joining tracks for extended wall runs.
- Concealed Front Profile: The brackets hide completely inside the rear track channel for a clean, screw-free aesthetic.
Choosing the Right Grip Profile
- Standard Grip (Single-Groove): The default bracket included in standard Click Rail kits. Features a single-groove locking mechanism on each side to provide a firm, stable hold on smooth, flat plasterboard and masonry walls.
- Extra Grip (Triple-Groove): Features an aggressive three-groove locking design that pulls the track tighter against the wall. Ideal for uneven plaster, textured surfaces, or slightly bowed walls to eliminate visible gaps behind the rail. (Note: Provides an extra-firm clamp, making track removal much firmer once snapped into place.)
Technical Specifications & Quantity Guide
- System Compatibility: Exclusively fits the ARTITEQ Click Rail picture hanging system.
- Material & Finish: Durable, high-grade white composite polymer.
- Bracket Spacing Guide: Install 1 bracket every 40 cm along your wall (~3 brackets per 1.5 m track or 6 brackets per 2 m track).
- Rail Joints: Always install an extra bracket directly behind the joining point where two rail tracks meet.
How to Install
- Mark Drilling Points: Hold a bracket against your ceiling or guideline and mark your drill hole locations spaced every 40 cm.
- Drill & Plug: Drill 6 mm holes, insert appropriate wall plugs (such as FISCHER DuoPower plugs), and screw the brackets tightly to the wall.
- Snap Rail in Place: Align your Click Rail over the mounted brackets and press firmly until you hear a solid click locking the rail in position.
What’s Included
- 1 × ARTITEQ Click Rail Click&Connect Installation Bracket (Select Standard Grip or Extra Grip)
Note: Installation screws and wall plugs are sold separately.


| Brand | ARTITEQ |
|---|---|
| Bracket | Standard Grip, Extra Grip |
Related products


£1.44
The smallest hook we offer; yet so multifunctional. A great option for hanging very light picture frames, artwork.
max: 2 kg (5 lbs)
fits: 2 mm Wire
size: 30/8 mm (H/W)
finish: Steel
-40%
Original price was: £6.00.£3.60Current price is: £3.60.
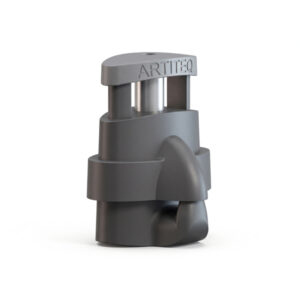
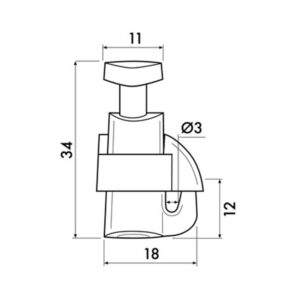
Auto-locking, heavy-duty picture hook with instant, tool-free height adjustment along perlon and steel hanging wires.
max: 20 kg (44 lbs)
fits: 2 mm Wire
size: 33/24 mm (H/W)
finish: Black
£1.56
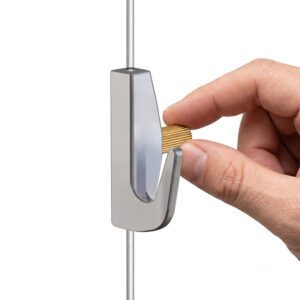
Perfect for hanging frames with square/rectangular brackets or sawtooth hangers. Very easy to use, fun to hang with.
max: 10 kg (23 lbs)
fits: 2 mm Wire
size: 21/23 mm (H/W)
finish: Aluminium
£4.20
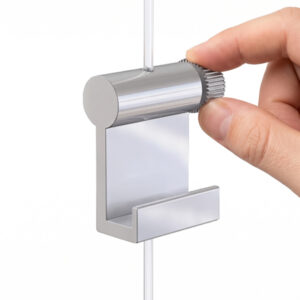
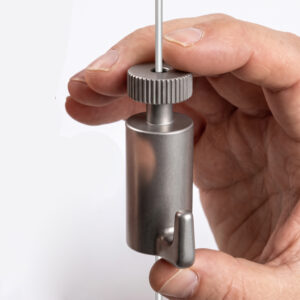
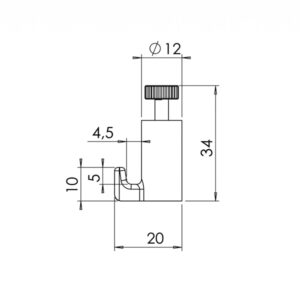
A round aluminium hook that glides effortlessly along 2 mm wires for fast, tool-free picture frame height adjustments.
max: 15 kg (33 lbs)
fits: 2 mm Wires
size: 34/11 mm (H/W)
finish: Aluminium
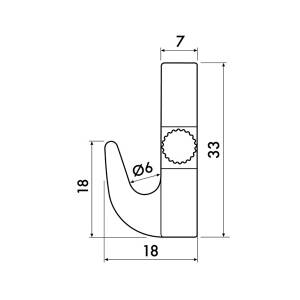
£2.40
A solid aluminium body with knurled thumb screw for tool-free, heavy-duty frame height adjustments up to 7kg.
max: 7 kg (15 lbs)
fits: 2 mm Wires
size: 33/17 mm (H/W)
finish: Aluminium/Brass
-10%


Price range: £45.17 through £47.14
The complete kit with a track, Twister perlon wires, and fibreglass-reinforced hooks for heavy-duty, wall-damageless gallery displays.
length: 200cm
finish: White, Black, Grey
wires: Twister Perlon
hooks: Micro Grip This product has multiple variants. The options may be chosen on the product page