

Picture World Blog
How to Install a Picture Hanging System: The Complete Step-by-Step Guide
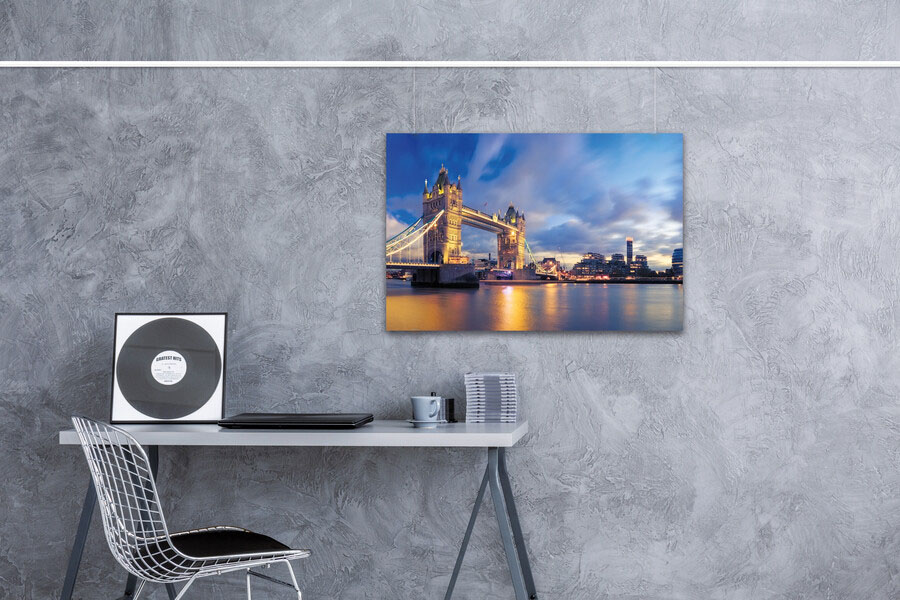
1. How do I install a picture hanging system?
Installing a picture hanging system involves five main steps:
- Measure & Mark: Decide on your rail height and draw a level datum line across the wall using a spirit level.
- Mark Drill Points: Hold the mounting clips or tracks along your line and mark the fixing holes (typically spaced every 30cm to 50cm).
- Drill & Plug: Drill holes in your wall and insert the appropriate wall plugs (masonry plugs or plasterboard anchors).
- Fix the Clips: Screw the wall clips securely into place.
- Snap On the Rail: Press the aluminium rail onto the clips until it clicks securely into place, then insert your end caps, cables, and hooks.
2. Can I install a picture hanging system myself?
Yes, absolutely. Picture hanging systems are designed for straightforward DIY installation. If you can use a tape measure, a spirit level, and a power drill, you can fit a picture rail system yourself in under an hour. For longer wall runs, having a second person hold the rail while you mark makes the process even easier.
3. What tools do I need to install a picture hanging system?
You only need basic household DIY tools to install most gallery rails:
- Spirit Level or Laser Level (essential for straight rails)
- Tape Measure & Pencil
- Power Drill with appropriate drill bits (masonry or wood/metal bit)
- Screwdriver or Drill Driver Bit
- Wall Fixings: Screws and wall plugs suited to your wall type
- Hacksaw & Fine File (optional: only if cutting rails to custom lengths)
Heights, Positioning & Layout Guidelines
4. How high should a picture rail be installed?
A picture rail is typically installed flush against the ceiling line or directly above the top of windows and doors.
However, if you are hanging art using hanging cables and adjustable hooks, the rail position can be adjusted to suit your room’s architectural proportions:
- Flush with Ceiling: Creates a seamless, near-invisible look that blends into the cornicing.
- Eye-Level / Dado Height: Used in contemporary galleries or high-ceilinged spaces where you prefer a mid-wall installation rail.
5. How far below the ceiling should a picture hanging rail be fitted?
- Ceiling-Mounted / Flush Tracks: Fitted 0mm to 5mm below the ceiling or coving for a fully integrated look.
- Wall-Mounted Tracks: Typically fitted 10mm to 20mm below the ceiling or coving to allow enough clearance to clip the rail onto its mounting brackets easily.
Wall Types, Materials & Fixing Methods
6. Can a picture hanging system be installed without drilling into the wall?
For light-to-medium hanging needs, yes. You can use high-strength construction adhesives or heavy-duty mounting tape to attach aluminium tracks to smooth, painted surfaces.
Important Load Note: The strength of your wall paint or plaster surface strictly limits no-drill adhesive installations. For heavy artwork, mirrors, or high-value displays, mechanical screw fixings are always recommended.
7. Can I install a picture hanging system on plasterboard?
Yes. Picture hanging systems work exceptionally well on hollow stud walls and plasterboard (drywall).
When installing into plasterboard:
- Use appropriate hollow wall anchors (such as metal self-drill plugs, Gripit fixings, or spring toggles).
- Where possible, drive at least two screws directly into the underlying timber wall studs for maximum weight capacity.
8. Can I install a picture hanging system on a brick or concrete wall?
Yes. Brick, concrete, and masonry walls offer the highest weight capacity for gallery systems.
- Use a masonry drill bit with your drill’s hammer function turned on.
- Insert high-grade plastic wall plugs or heavy-duty expansion plugs flush with the brickwork.
- Drive your mounting clip screws securely into the plugs.
Modifying & Fitting Around Room Features
9. Can a picture rail be cut to size?
Yes. Aluminium picture hanging rails can easily be cut to fit any wall length using a standard fine-toothed hacksaw or a mitre saw fitted with an aluminium cutting blade.
Pro Tip: After sawing, use a small metal file or sandpaper to deburr the cut edges so the plastic end caps sit flush.
10. How do I install a picture hanging system around corners?
Picture hanging systems use specialised corner joiners to navigate room corners smoothly:
- Internal Corners (90°): Butt two rails together in the corner and connect them using an internal corner connector or joiner cap to bridge the seam smoothly.
- External Corners: Use an external corner joiner piece that covers the raw aluminium cut ends and keeps your hanging cables sliding smoothly around the turn.
- Continuous Runs: For long straight walls requiring multiple lengths, use straight rail connectors inserted inside the back of the rails to keep the seam invisible and perfectly level.